When I saw this easy DIY art project over at
Polka Dots and Paisley, I loved it right away and knew I had to try it. I learned a few things along the way and thought I'd share with you exactly how I did it.
You'll need:
-Ruler
-Piece of paper
-16 x 20 inch canvas
-1/2 inch masking tape
-5-6 coordinating paint colors
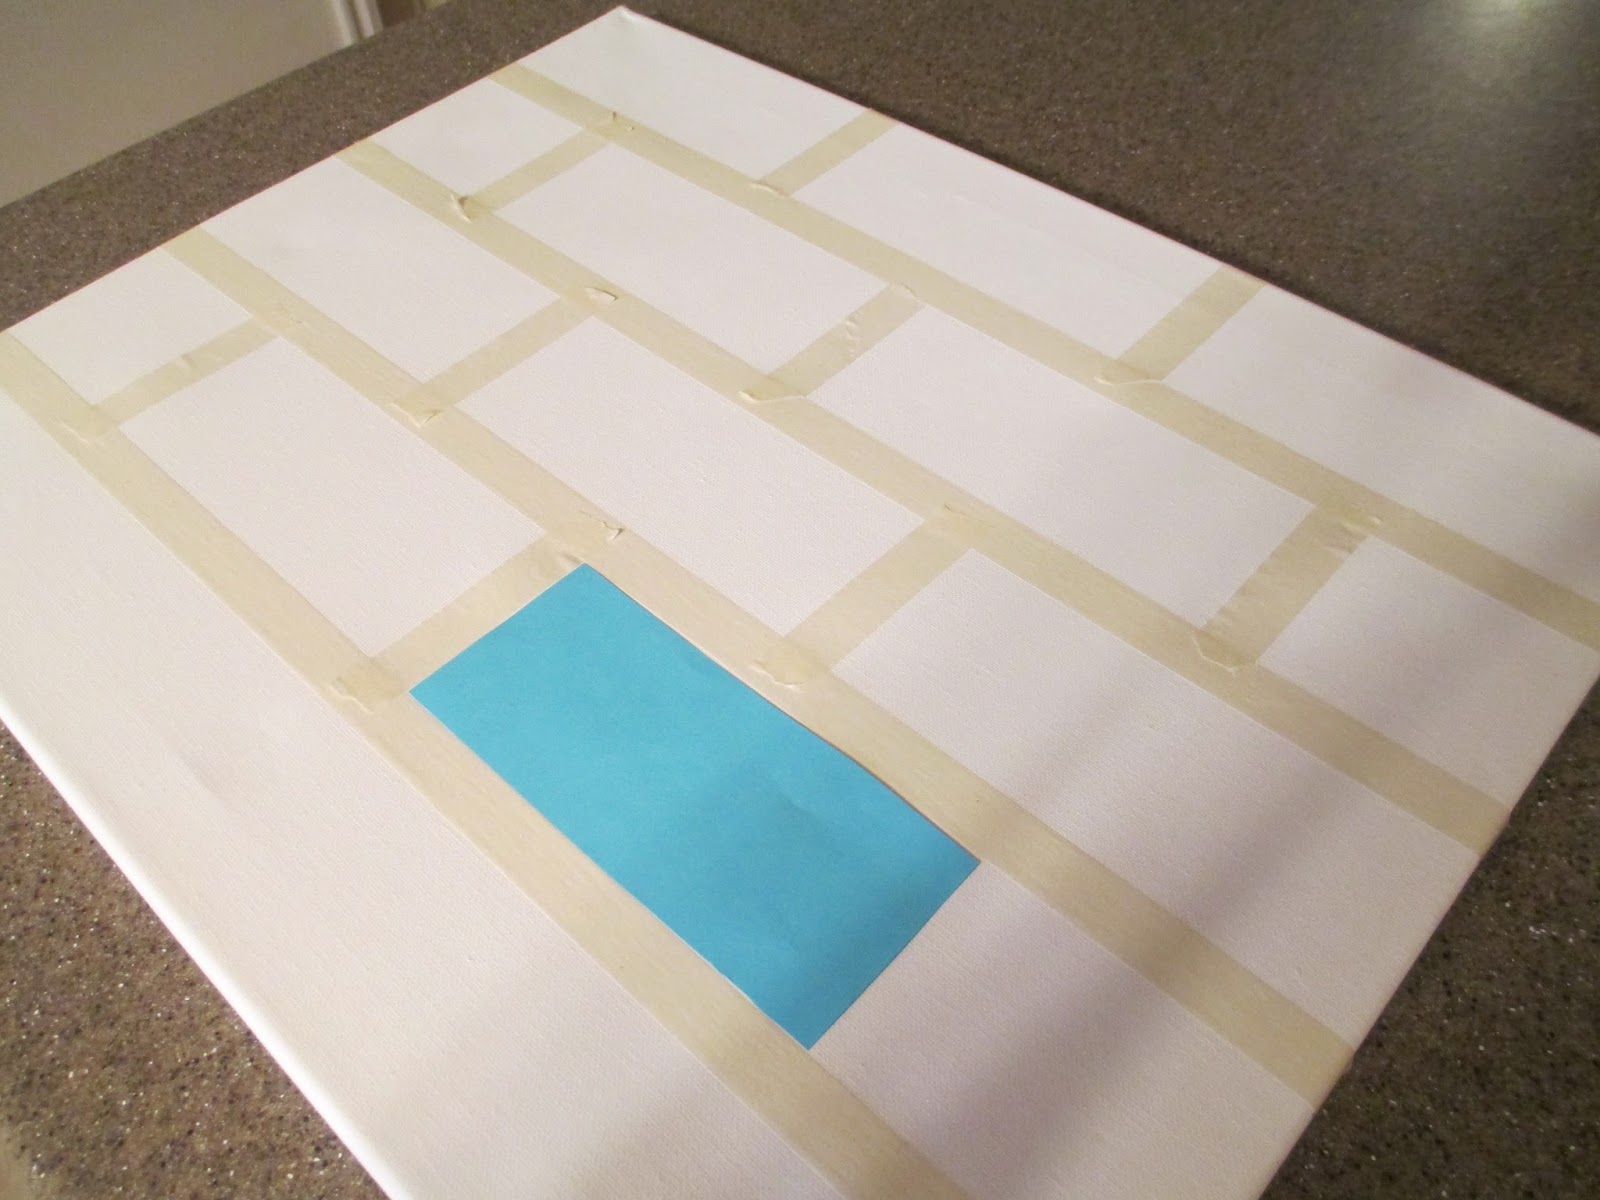
1) Cut your piece of paper to a 6 inch x 2.5 inch block. This size will create a symmetrical result if you use 1/2 inch masking tape.
2) Using the paper as a guide, mark the edge of the canvas on each side and then place a piece of masking tape across the entire canvas horizontally. Continue this until you have 5 horizontal rows.
3) Next, use your paper block as a guide for your vertical lines, which should be evenly spaced across the top row.
4) For the second row, simply stagger the blocks with the first row and tape away. Rows 1,3 and 5 will be the same and rows 2 and 4 will be the same. You can't see it, but I also taped around the edge of the canvas to prevent any drippage.
5) Now it's time to paint! I used 5 paint colors and I love the way it turned out. I personally think that anything more than 6 or 7 starts to look a little disconnected. There was really no specific strategy for color placement, I just made sure 2 blocks of the same color weren't too close together and that the lighter and darker colors were somewhat evenly spaced as well. One tip from the tutorial at Polka Dot's and Paisley that I found useful for creating a clean line was to start painting at the tape and move inward. After you've done this and painted the entire block, go over the space in one direction so that the paint looks good.
6) After you've finished painting, remove the tape while it's still wet if possible because it will create a cleaner line. Some of the darker colors required a few coats, so just make sure that you're really done painting before taking that tape off.
And the end result:
This project was easy, inexpensive (less than $10) and added a pop of color to Noah's room! I absolutely love it!